
Shokupan (sometimes referred to as Japanese Milk Bread or Hokkaido Milk Bread) literally means meal bread. Shoku is meal or food and pan was taken from the Portuguese word for bread. This type of bread became common in post-war Japan when it was served in school lunch to combat rice scarcity. As is typical in Japanese culture, they took this common Western staple and elevated to a loaf that is fluffy and soft that stays fresher longer. Now bread is as common in Japan as rice!
In this recipe, I’m going to use a Pullman loaf pan, but you could form this however you want. The Pullman loaf (or pain de mie for you fancy types), is great for sandwiches, french toast or dessert toast. Dessert toast is a thick slice of a slightly sweet Pullman loaf, toasted and topped or stuffed with ice cream, whipped cream, fruit, jams, syrups, cookies, wafers or anything else you can think of!
A lot of the pullman loaf pans out there have ribs on it. While it makes it easier to remove the loaf, I don’t like the way the loaf looks. So I ordered an Amco pan and lid (they are sold separately) through Amazon.com. This recipe is good for the 1-1/2 pound pan.
Let’s get to this!
Shokupan (Japanese Milk Bread)
Starter:
1/3 cup bread flour
1/2 cup whole milk
1/2 cup water
Dough:
3-2/3 cups bread flour
1/4 cup sugar (1/2 cup for sweet, 2 T if you like less sweet)
1 T active dry yeast
1-1/2 tsp salt
2 large eggs
1/4 cup whole milk
1/4 cup butter, cut into pieces and softened at room temperature
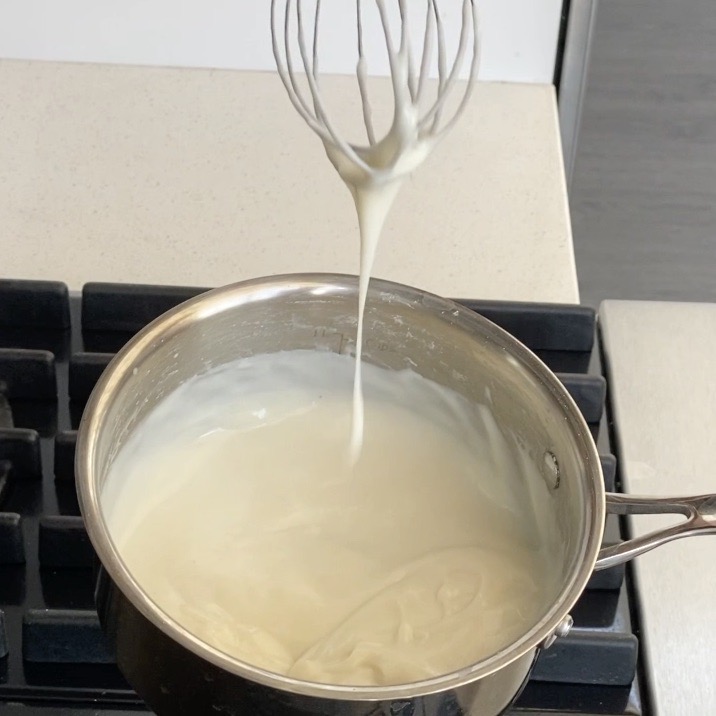


Make the starter:
In a small pot, whisk flour, milk and water together until smooth. Bring to a simmer over medium-low heat, stirring often until thickened but still pourable. Whisk remaining milk into starter to cool.
Make the dough:
In the bowl of a stand mixer, whisk together the flour, sugar, yeast and salt.
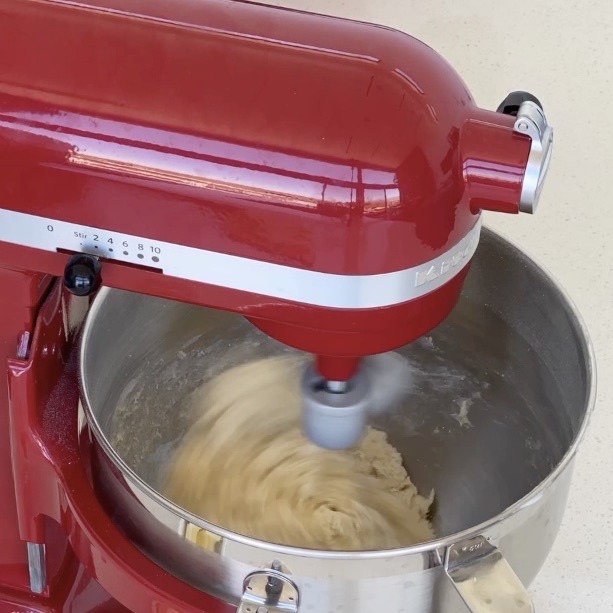
Add eggs and starter and use a dough hook on low speed (2 on Kitchen Aid) and knead 5 minutes until the dough starts to form a nice ball.
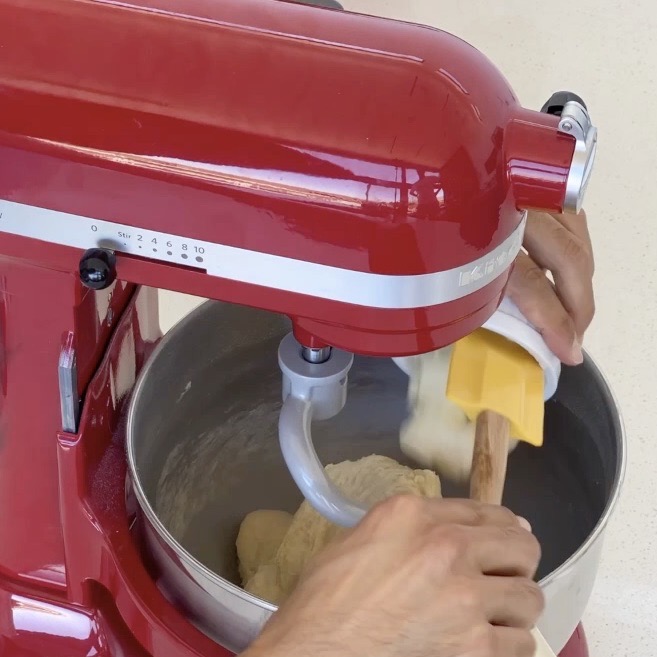
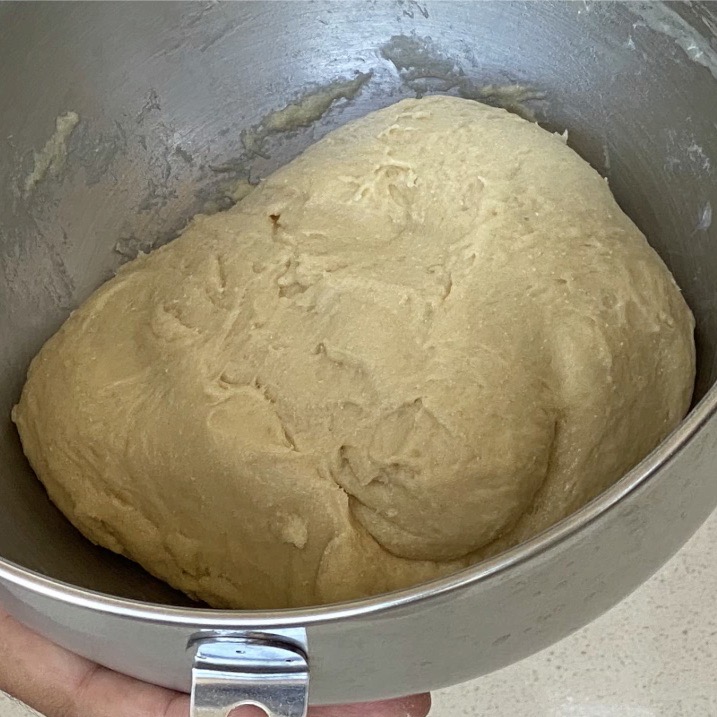
Add butter and knead another 3 minutes, until the butter is fully incorporated and the dough is smooth, springy and slightly tacky. Removed bowl and cover with a kitchen towel and let rise until doubled in size, about 60 minutes.
Scoop it out and cut the dough in half and half again. Lightly form each into a ball.
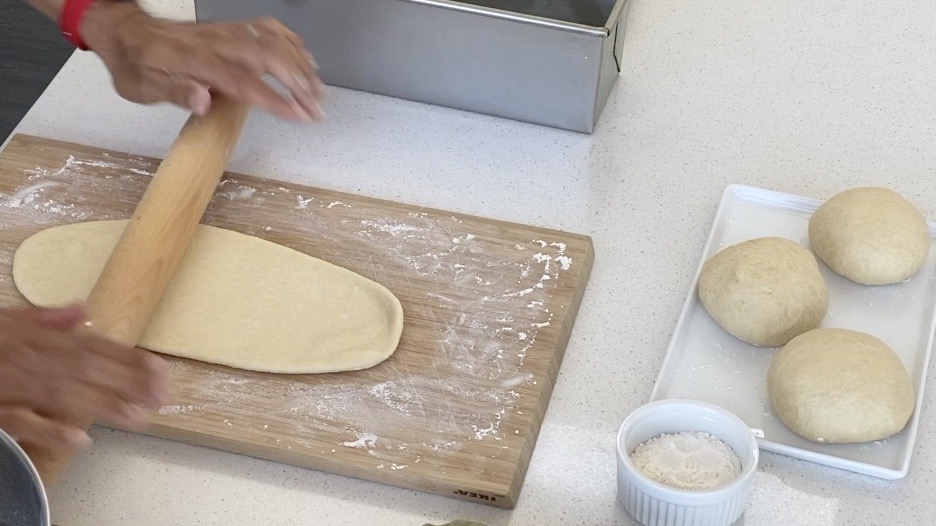
Generously grease a 1.5 lb Pullman loaf pan. Using a rolling pin, gently roll out one dough ball into an oval about 12 inches long and 6 inches across.
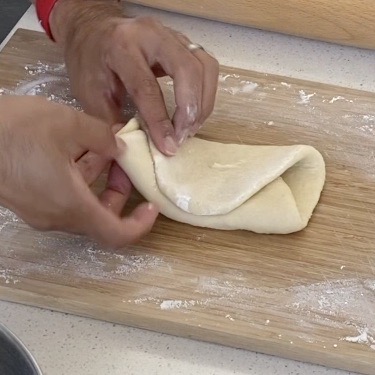
Fold the top 1/3 of the oval down, then fold the bottom 1/3 of the oval up. Roll up the dough sideways into a log and place in the greased pan, seam side down. Repeat with the other dough balls.
Cover and let rest 30 to 40 minutes more, until the risen dough is about 1/2” below the top of the pan. Preheat your oven to 350ºF timed to coincide when the dough will be ready to bake. Cover and bake 25 minutes, remove the lid and bake 20 minutes more until crust is golden brown.
Let cool in the pan 10 minutes, then remove to a wire rack and let cool at least 1 hour.
Variations:
1. Rolls: Cut the dough into 24 pieces, roll into balls and put them in a buttered 9×13 pan.
2. Rolls: Cut the dough into 16 pieces, roll them into balls and place them on two baking sheets with enough room for them to expand. Bake them at the same time, switching from upper to lower racks halfway. 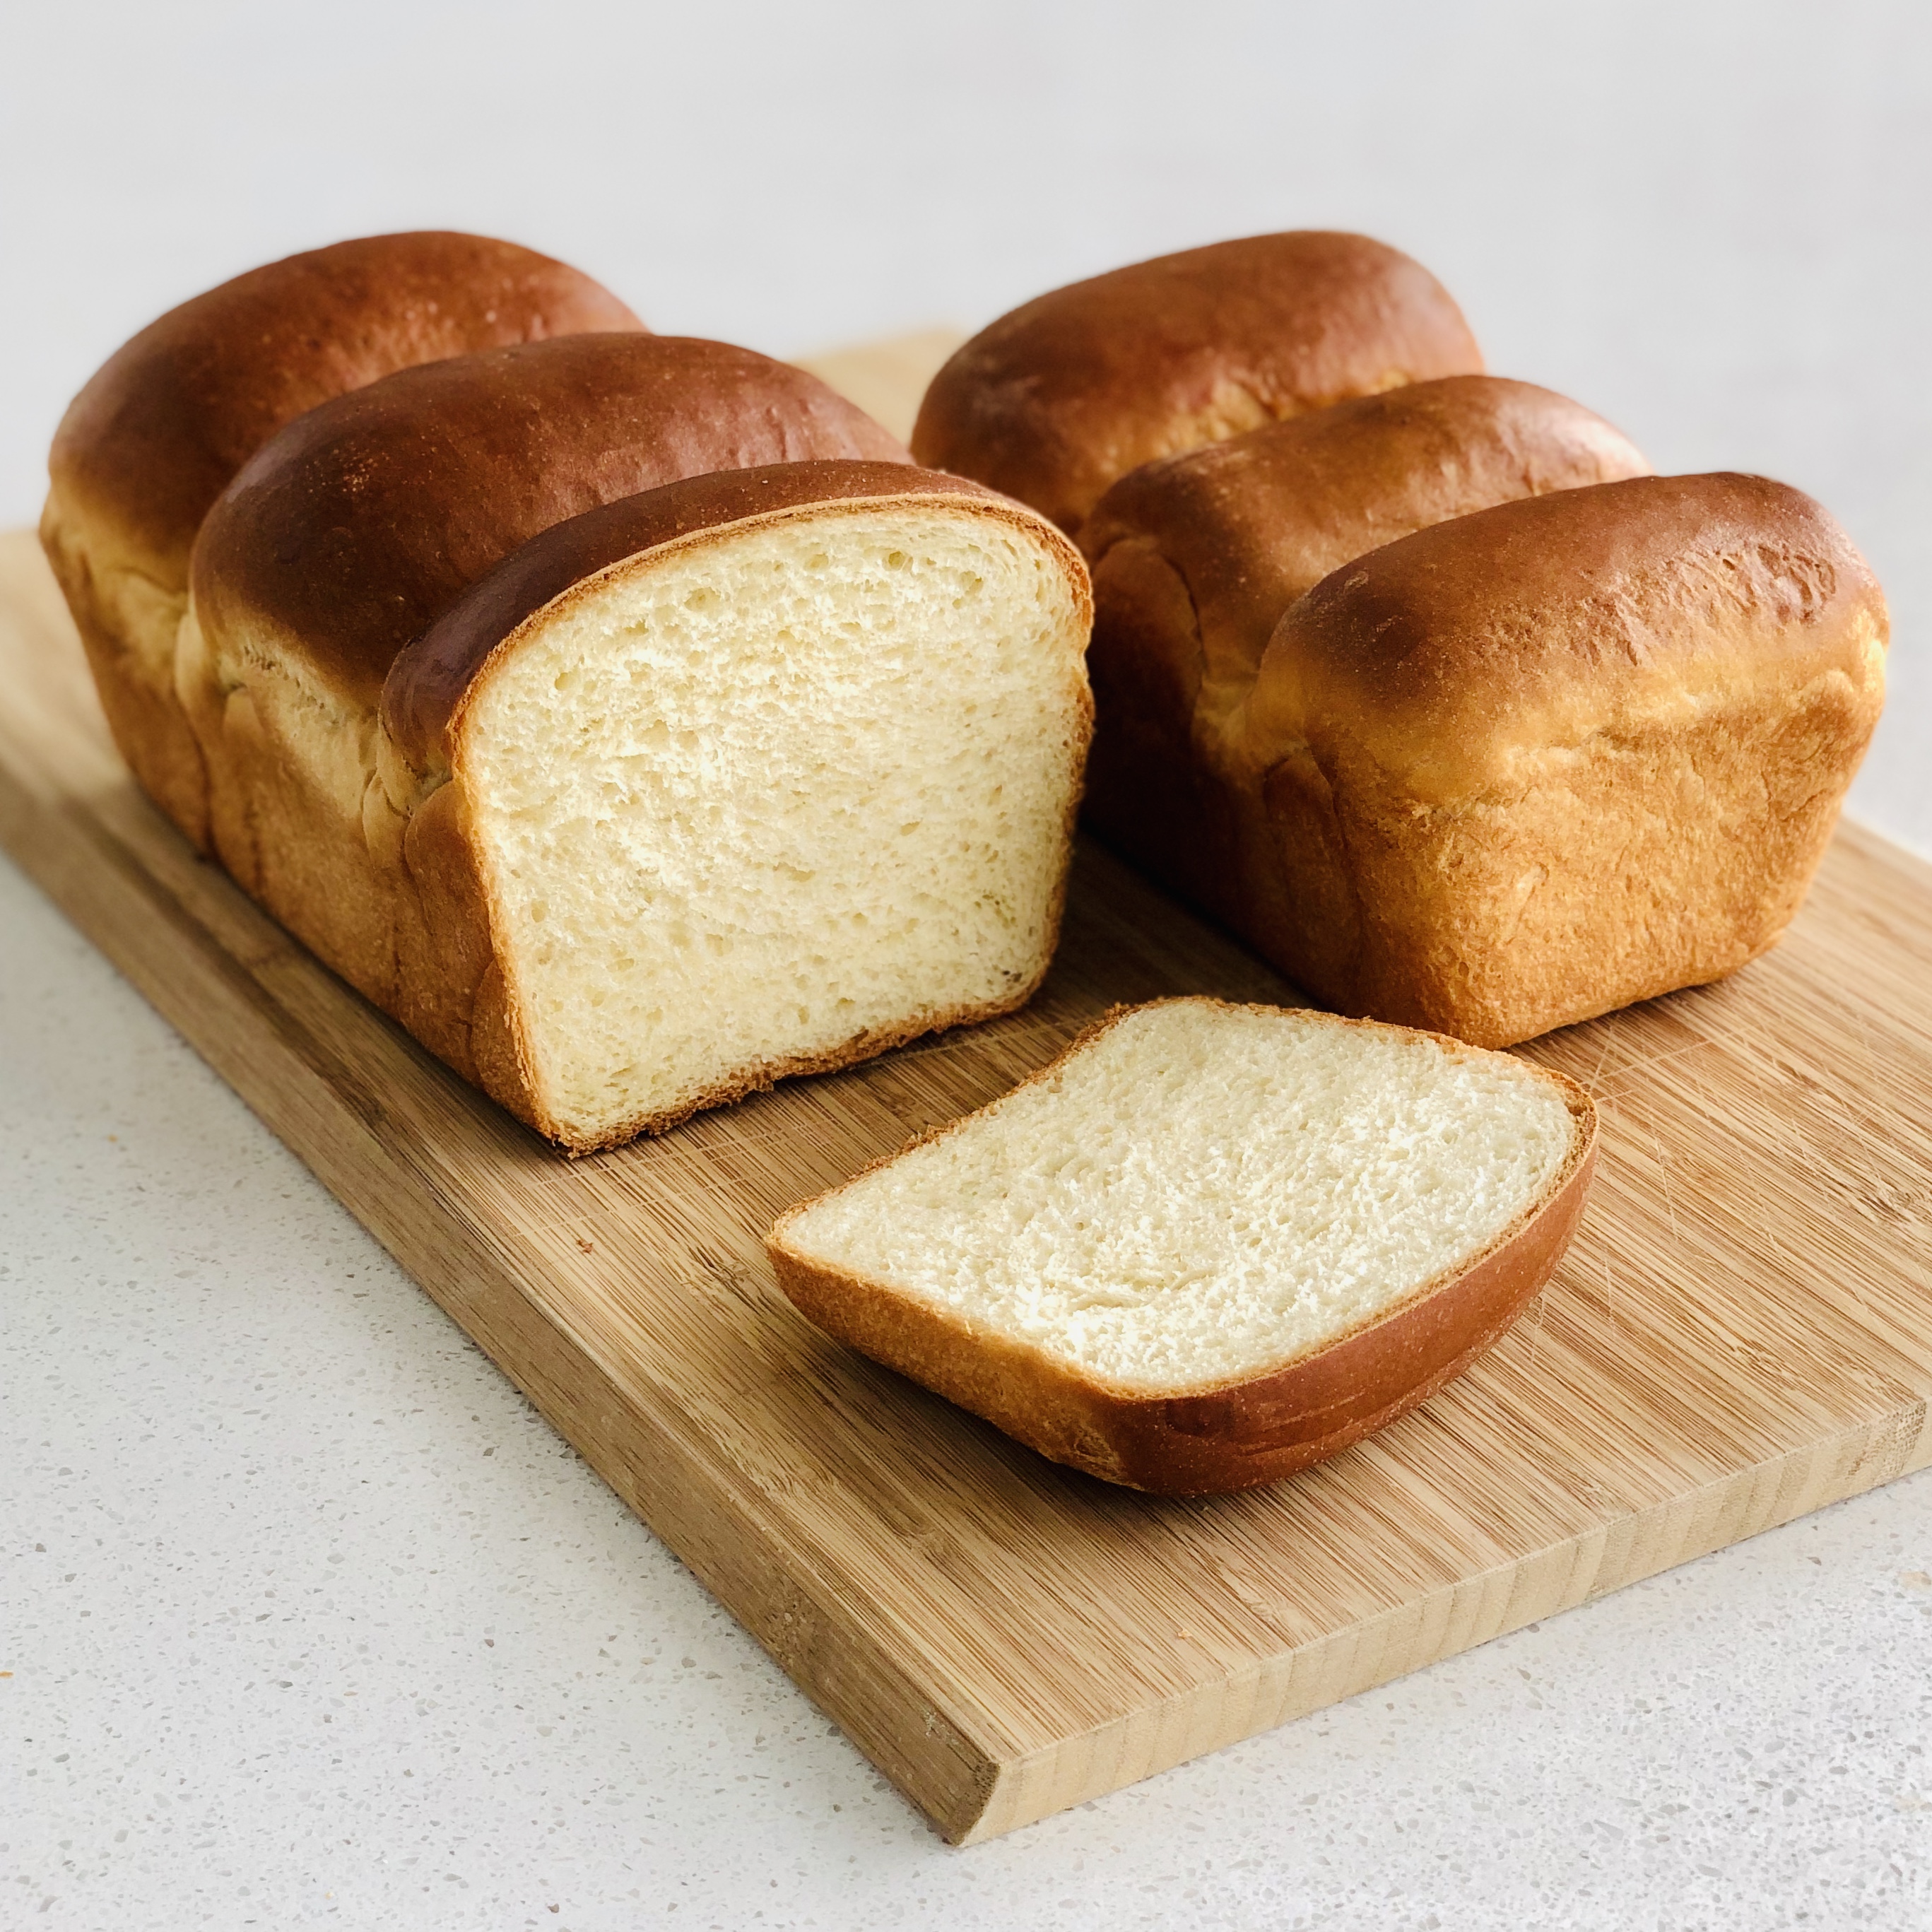
3. Open Top Loaf: Cut dough in half and put 2-4 logs each in two loaf pans either lined with parchment paper or greased.
4. Matcha: Use 1/2 cup sugar for a sweeter bread and add 2 T matcha powder to the dry ingredients.
5. Matcha Swirl: Use 1/2 cup sugar for a sweeter bread, add roll dough out to a rectangle and coat with a mixture of 1/2 cup sugar and 2 T matcha powder, jelly roll the dough.

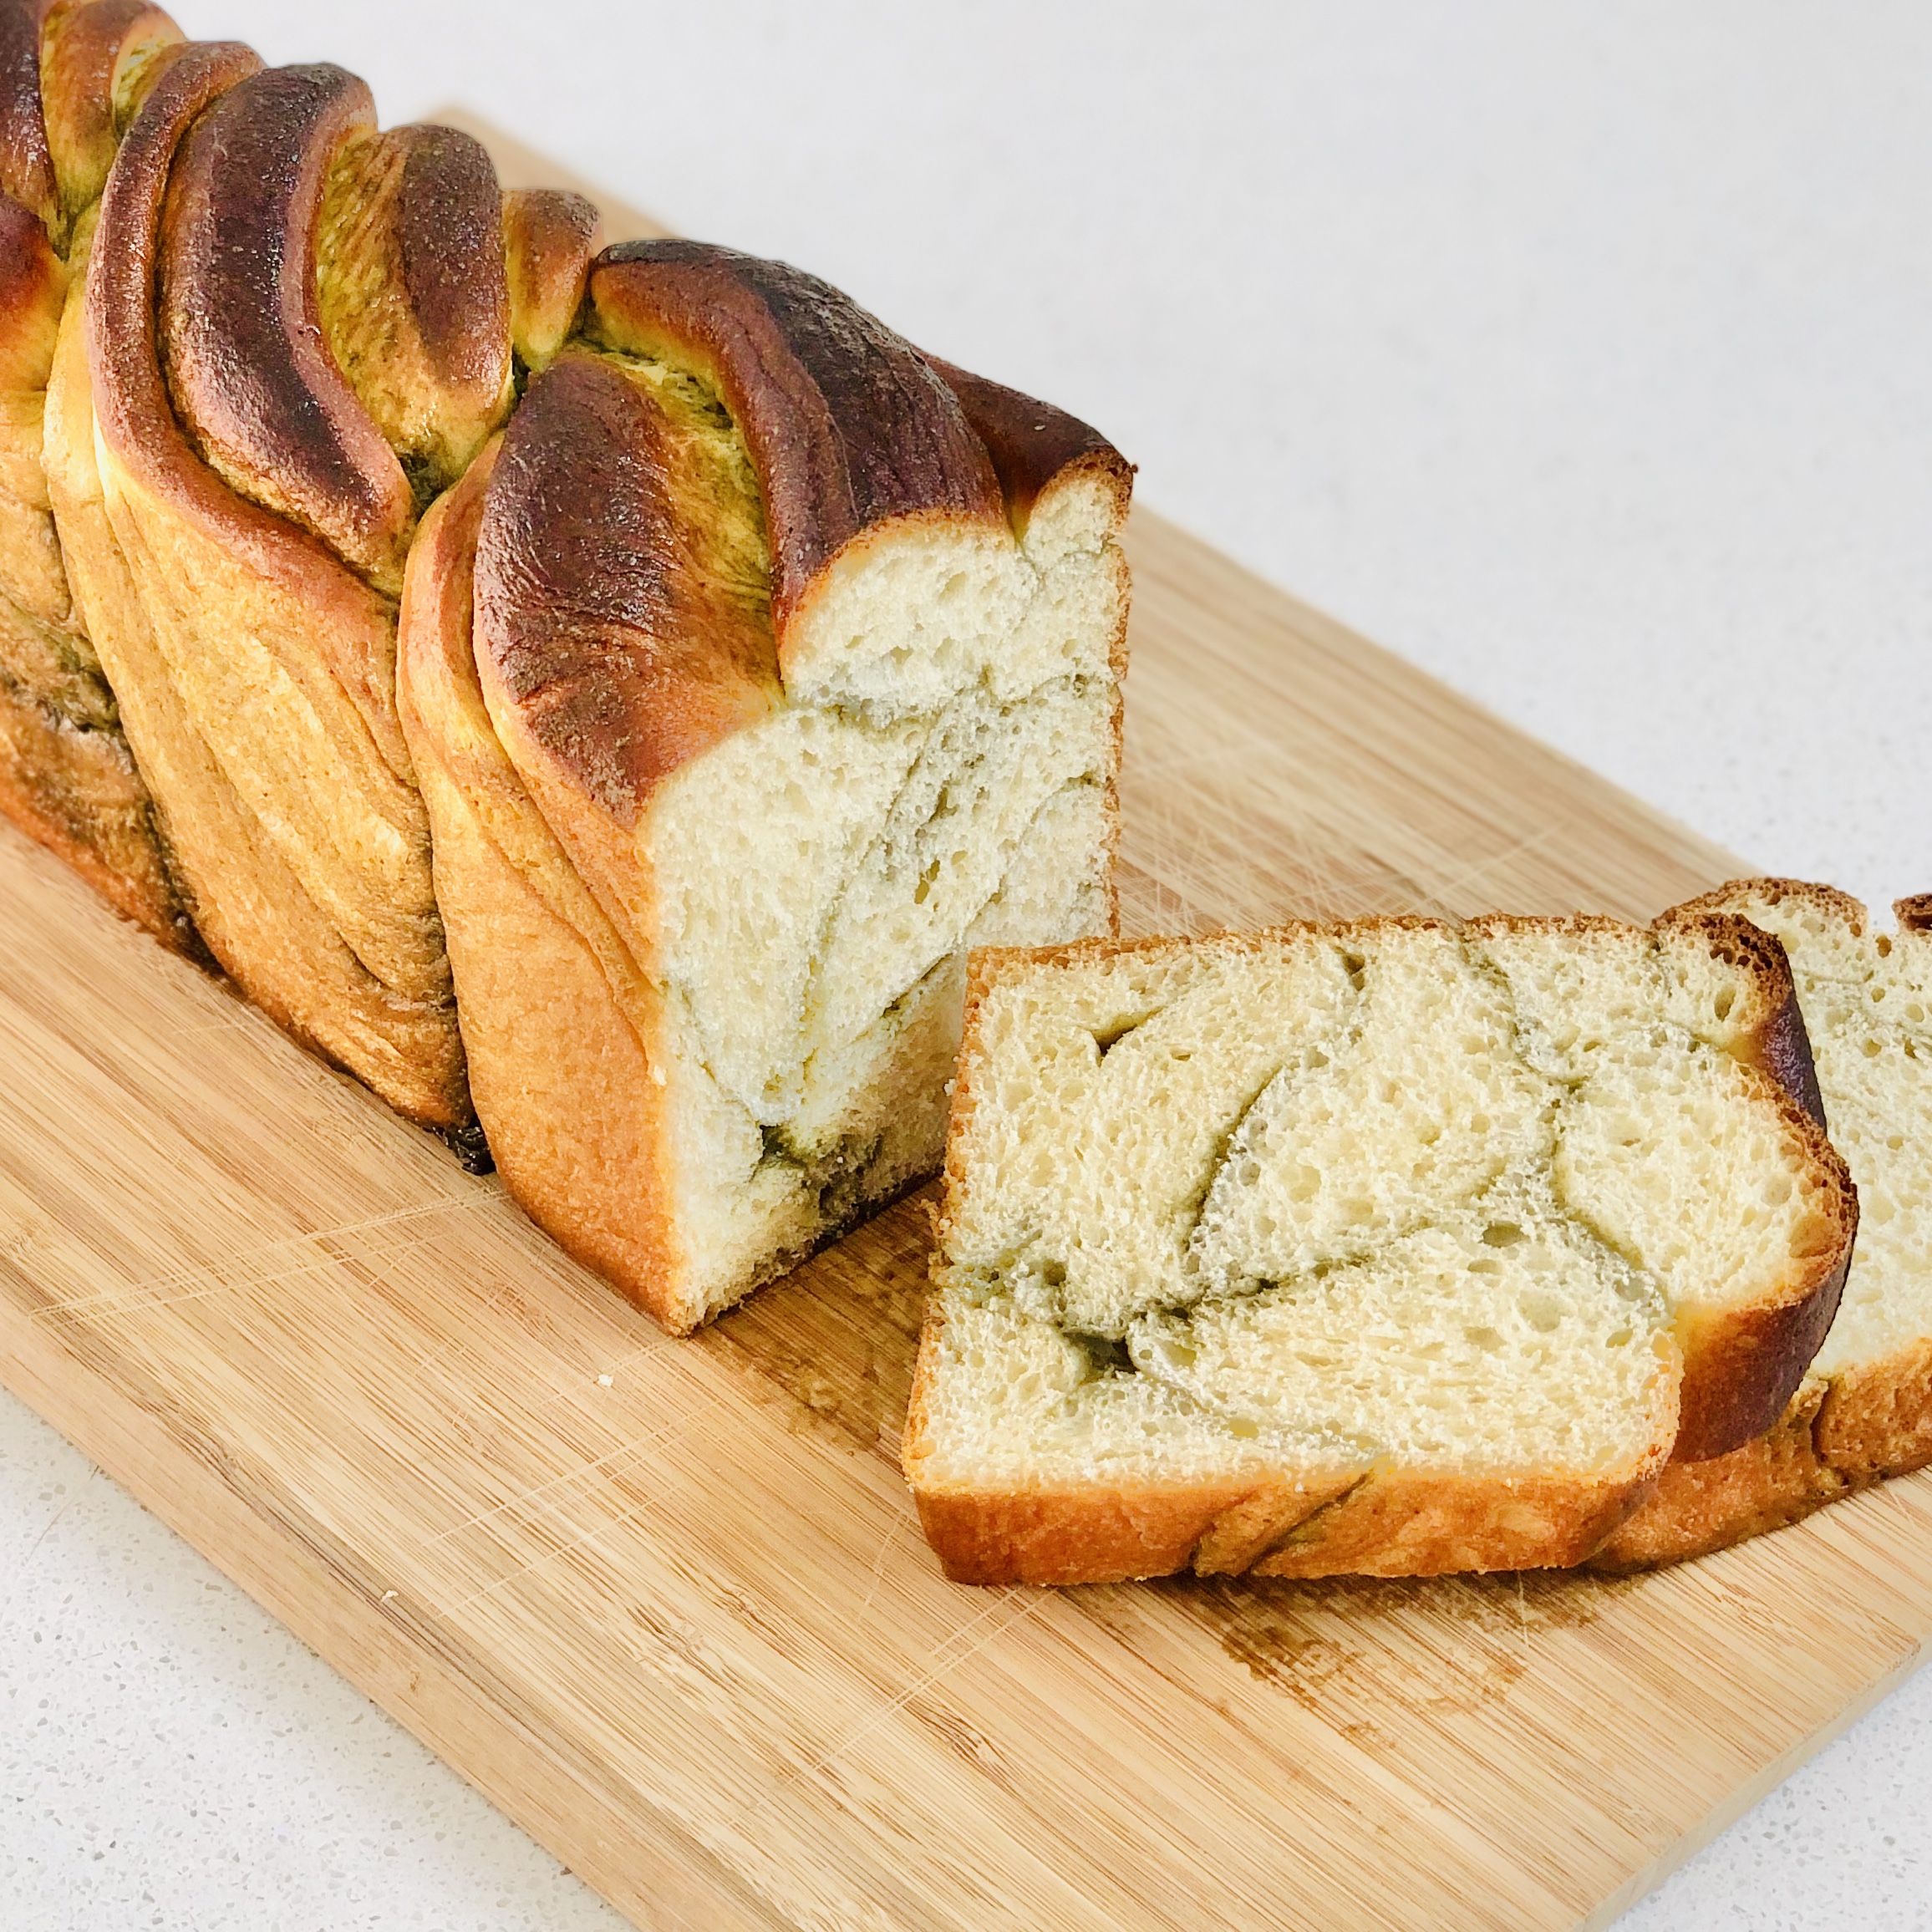
6. Matcha Bobka: Similar to a swirl. After you jelly roll it, you cut in half lengthwise and wrap the halves around each other, keeping the cut side up.
7. On any of the above variations, you can also put a wash on top: egg white with 1 T. milk for golden brown color with shine; whole milk for a crisp matte brown; whole egg for a dark brown; egg yolk for a strong golden-yellow; egg white for just a shine.

Hi.. I notice you use active dry yeast but do not proof it.. should I be using instant yeast since there is no proofing? Just want to be sure
LikeLike
You don’t need to proof active dry yeast. There is enough moisture in bread dough. That being said, some people like to proof it to make sure that the yeast is still good.
LikeLike